


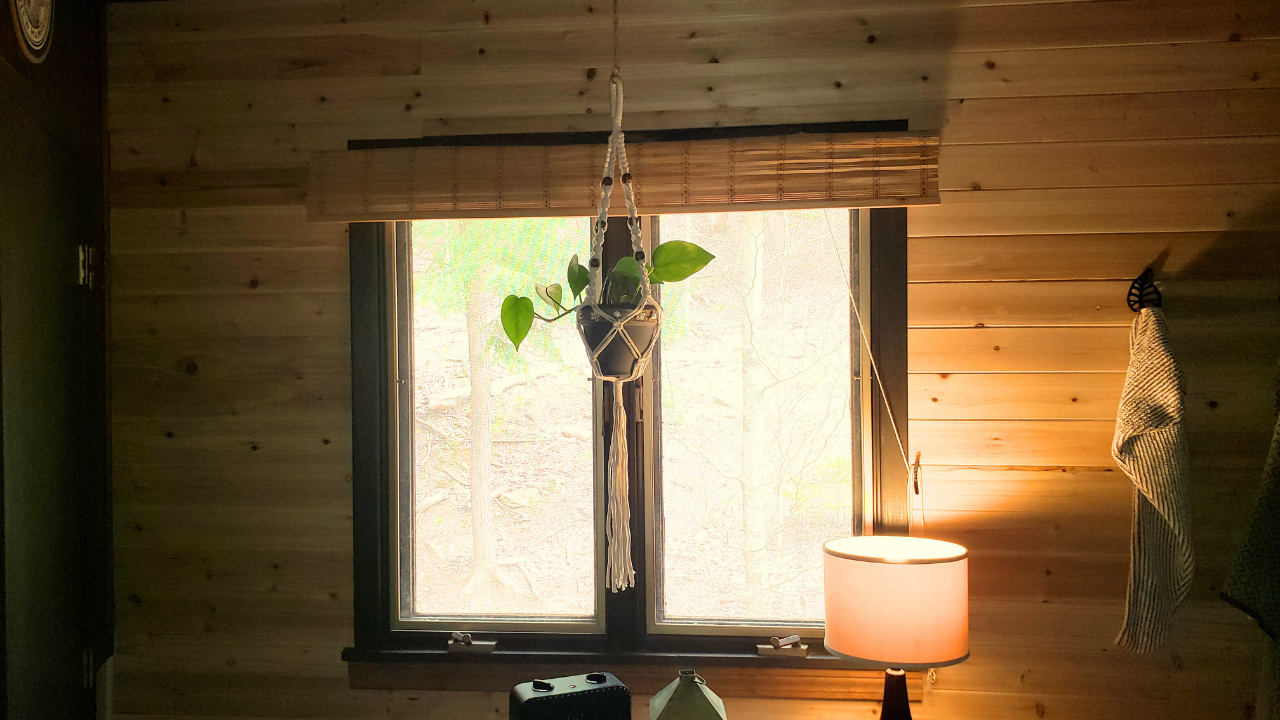
If you’ve been staring at a boring, blank wall and wondering how to give it some personality without hiring a contractor, a DIY accent wall is one of the most satisfying weekend projects you can take on. My wife and I recently built a cedar plank accent wall in our bathroom and I’ll walk you through exactly how we did it from start to finish.
The best part? Even though we built this one in a bathroom, the same approach works in any room. Bedroom, home office, living room, entryway — the steps are the same. So whether you want a cozy focal point behind your bed or a warm backdrop for your desk, this tutorial has you covered.
If you’re still deciding on a look before you pick up a tool, browse our accent wall designs for inspiration, then come back here to build it. We even filmed the process which you can view in the youTube video below.
Why Choose a Wood Plank Accent Wall?
There are dozens of ways to create an accent wall. You could use paint, wallpaper, board and batten but a wood plank wall has a few things going for it that are hard to beat:
- Warmth and texture. Real wood adds depth that paint simply can’t replicate. Cedar in particular has beautiful grain and a natural tone that makes a room feel instantly more finished. It also has a distinct pleasing aroma. A shiplap accent wall is another option without the cedar aroma.
- It’s beginner-friendly. If you can measure, level, and use a nailer, you can do this. There’s no drywall mudding or fancy finishing required.
- It’s forgiving. Tongue-and-groove planks lock together, which hides small gaps and imperfections as you go.
- It works anywhere. We used it in a bathroom, but the same planks look just as good in a bedroom or office.
For more ways to use wood in a space, our roundup of wood accent wall ideas shows this material styled across the whole house.
Tools and Materials
Materials
- Knotty cedar tongue-and-groove planks — we used Home Depot’s 1/4 in. × 8 ft. Knotty Cedar Edge V-Plank (about $27 a pack; we used 8). Buy enough to cover your wall’s square footage, plus ~10% for cuts and mistakes.
- Brad nails (that’s it — no construction adhesive needed if you’re nailing into studs)
- Trim/molding for the edges (we used baseboard molding along the bottom and a small piece of molding under the window)
Tools
- Tape measure and pencil
- Level
- Stud finder
- Miter saw (chop saw) for square, cut-to-length cuts
- Table saw (optional — for ripping planks down to width)
- Brad nailer with an air compressor
- Jigsaw (for notching around the window and outlets)
- Safety glasses and hearing protection
Tip: Buy a little more cedar than you think you need. Between end cuts, notches, and the occasional cracked board, that extra 10% saves a second trip to the store.
Before You Start: Planning and Prep
A little prep work is what separates a clean, professional-looking accent wall from one that looks rushed. Don’t skip this part.
1. Pick your wall and measure it. Multiply width by height to get your square footage so you know how much cedar to buy. Account for windows and doors, but still buy extra for cuts.
2. Let the cedar acclimate. Wood expands and contracts with humidity — especially in a bathroom. Let your planks sit in the room for a couple of days before installing so they adjust to the space and don’t shift after they’re up.
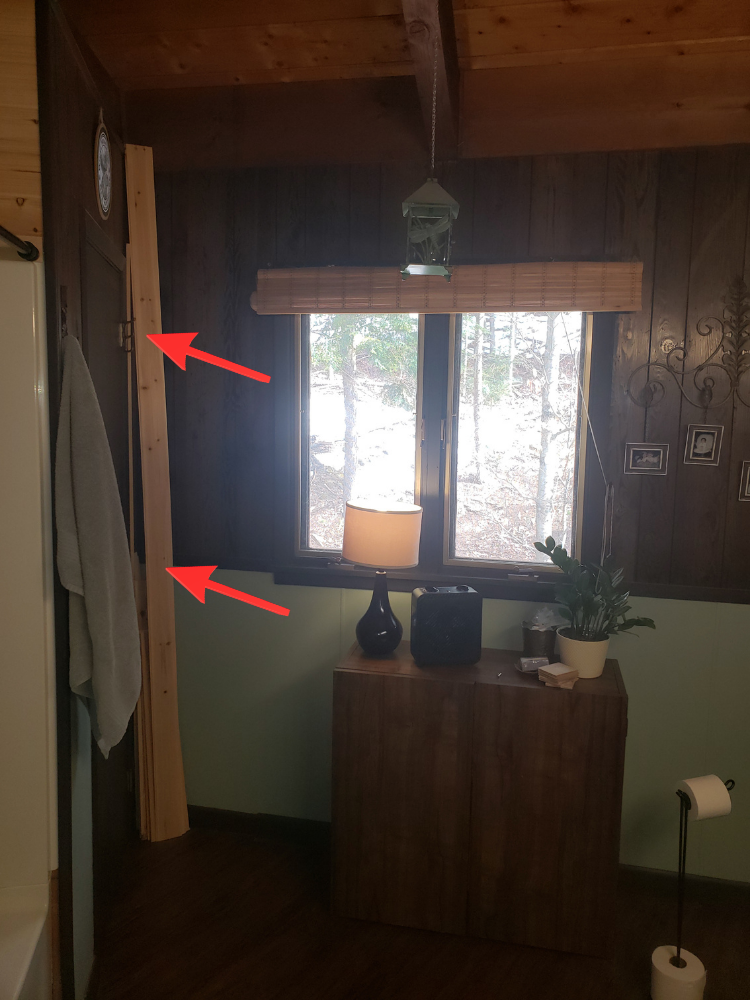
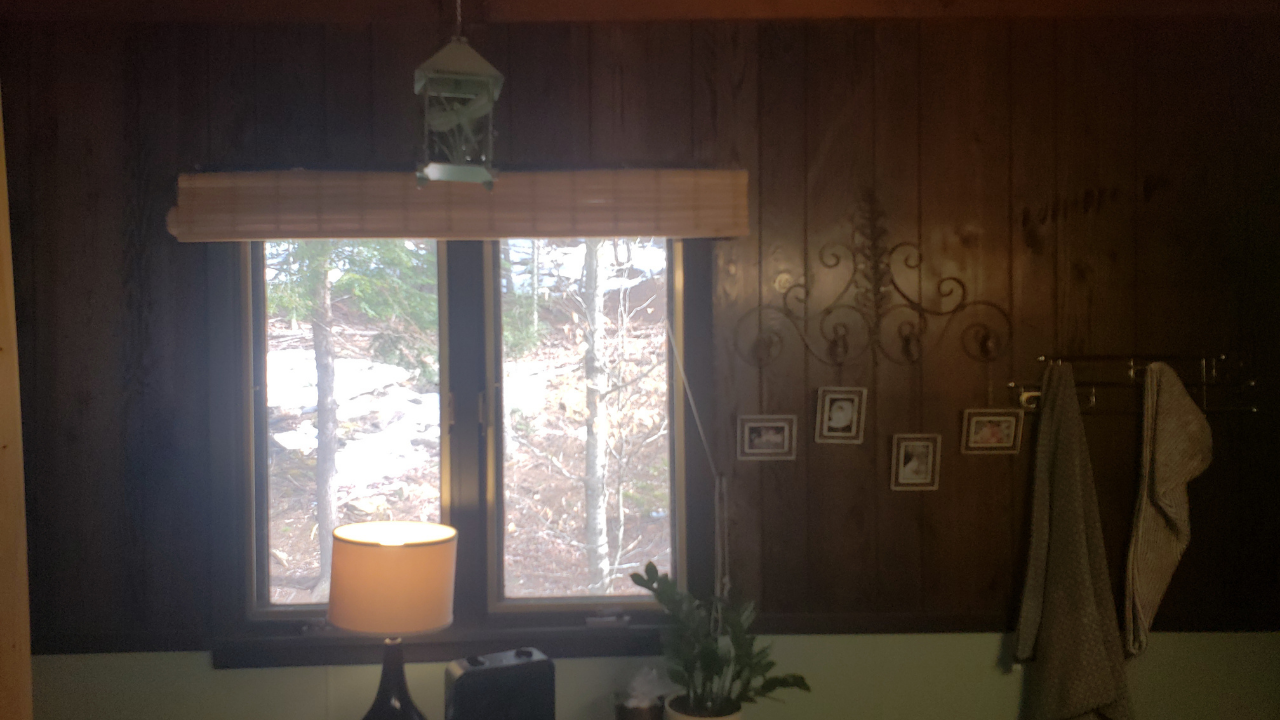
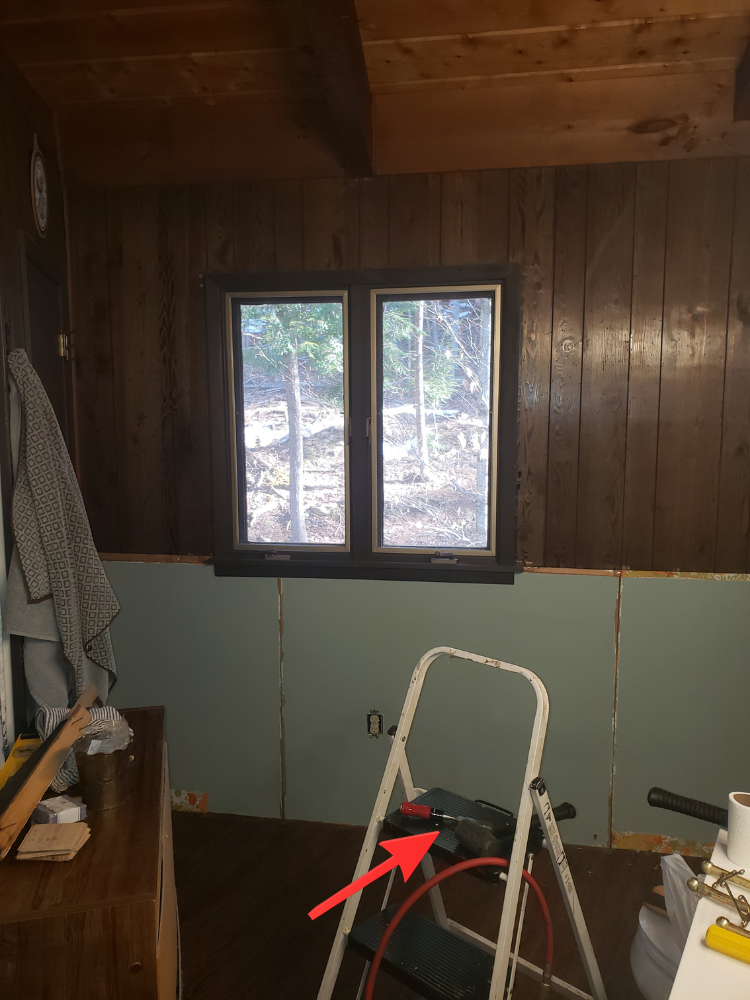
3. Locate your studs. We installed our planks right over the dark wood paneling that was already on the wall, nailing through it and into the studs behind (more on that in Step 2). You don’t have to strip the wall back first — just find your studs. Run a stud finder across the wall and mark each one with a pencil so you always know where to aim your nails.
4. Plan around obstacles. Our wall had a window and an electrical outlet, both of which meant notching planks to fit around them. Take stock of any windows, outlets, or switches on your wall before you start. It helps to dry-lay a few boards first to see how the layout falls and to plan where your seams will land.
Step-by-Step: Building the Wood Accent Wall
Step 1: Level and Set Your First Plank
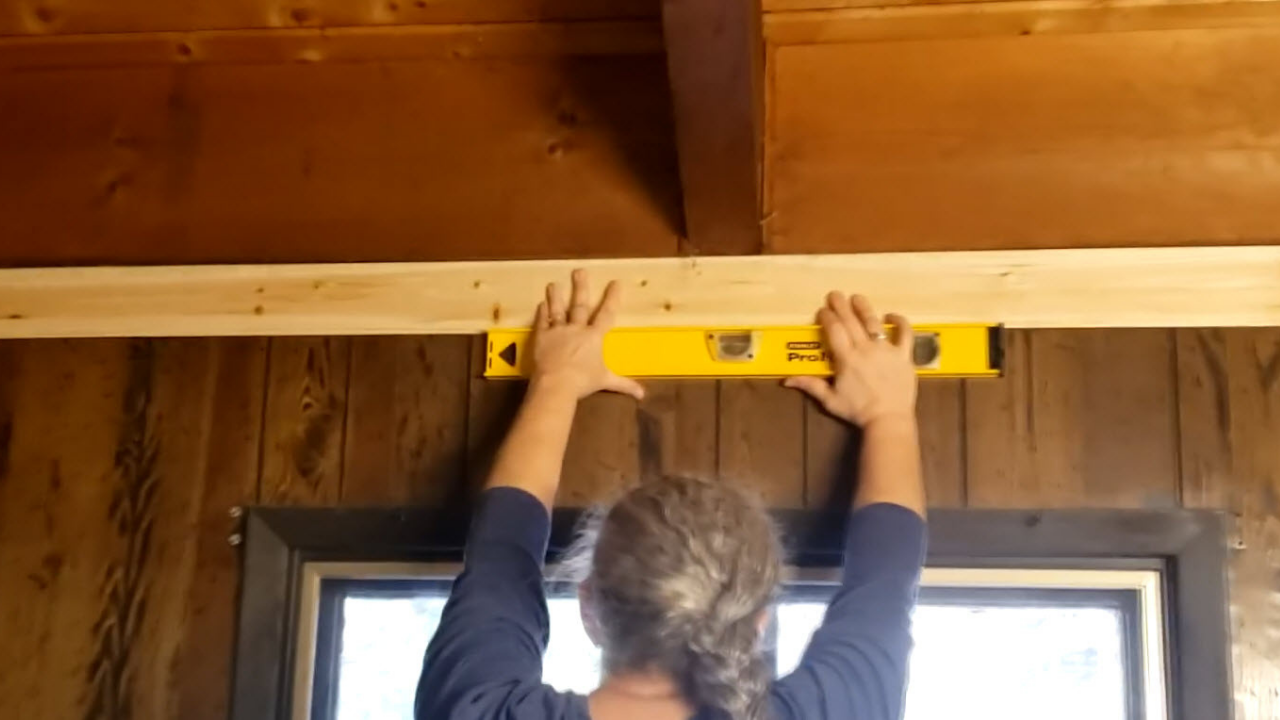
We started at the top of the wall and worked our way down, so our very first plank ran along the top. Wherever you choose to start, that first plank sets the line for the entire wall, so get it perfectly level. If it’s even slightly off, the error compounds across every row that follows. Hold your level along the plank, adjust until the bubble is centered, and double-check before you fasten anything.
Step 2: Fasten the First Planks
Once it’s level, secure it with your brad nailer, driving your nails into the studs you marked earlier. We used brad nails alone — no construction adhesive — and the planks have held rock-solid. Tongue-and-groove cedar locks together tightly, so as long as you’re anchoring into studs, nails are all you need. With that first plank locked in and level, the rest of the wall goes up quickly.
Step 3: Work Across the Wall, Cutting to Length
From here, you continue adding planks, fitting each tongue into the groove of the one before it. We ran our planks horizontally across the wall. When you reach the end of a row, measure the remaining space and cut a plank to length on your miter saw. A chop saw makes clean, square cuts that keep your seams tight.
One layout tip worth following: stagger your seams so the end joints don’t line up from row to row. We alternated long and short pieces as we went — a long board with a short one after it in one row, then flipped in the next — which spreads the seams out for a natural, brick-like pattern instead of an obvious vertical line.
Nail each piece as you go, keeping an eye on your level every few rows to make sure you’re staying true.
Step 4: Notch Around the Window (the Tricky Part)
This is the step that intimidates most people, but it’s very doable. Wherever a plank meets the window (or an outlet), you’ll need to notch it so it fits neatly around the obstacle.
- Measure twice. Mark exactly where the window edge falls on your plank — both the depth and the length of the notch.
- Cut the notch. I used a jigsaw for this, clamped to the side of my deck for stability — it’s ideal for the L-shaped and irregular cuts you need around a window frame. Cut along your marks to remove the section that overlaps the window.
- Test-fit before nailing. Dry-fit the notched piece first. Shave it down if needed, then fasten it once it sits flush.
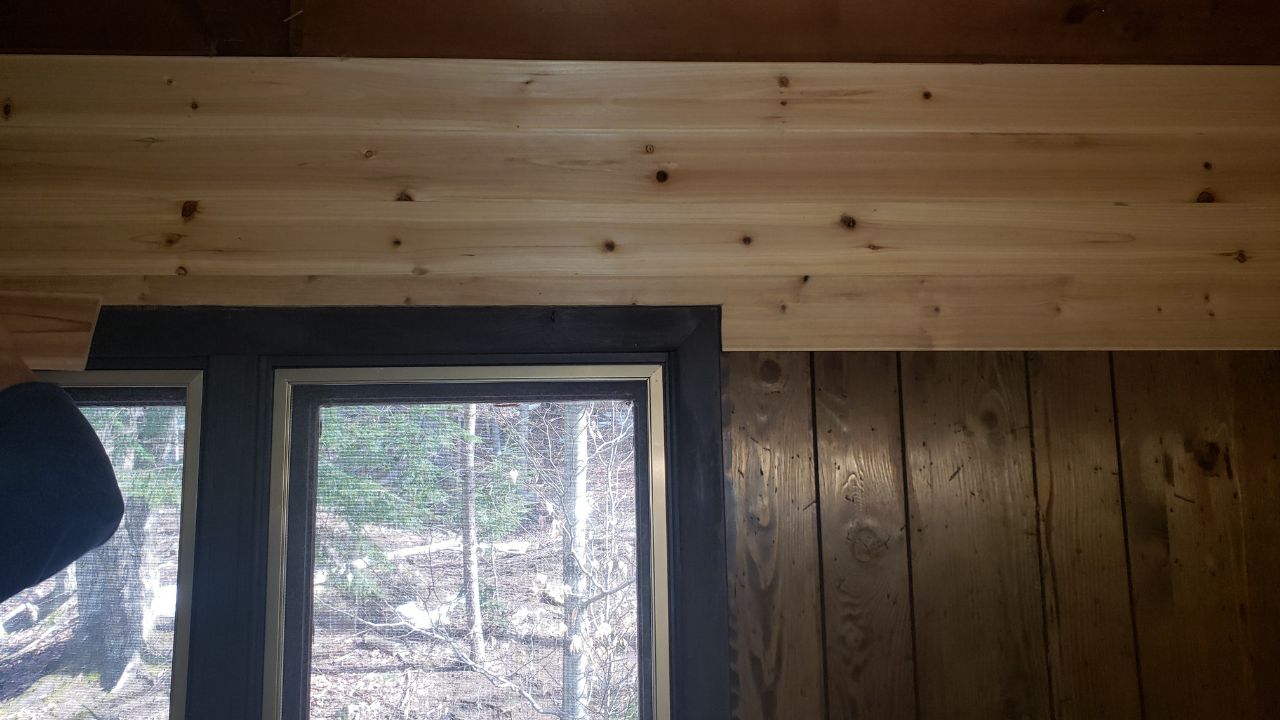
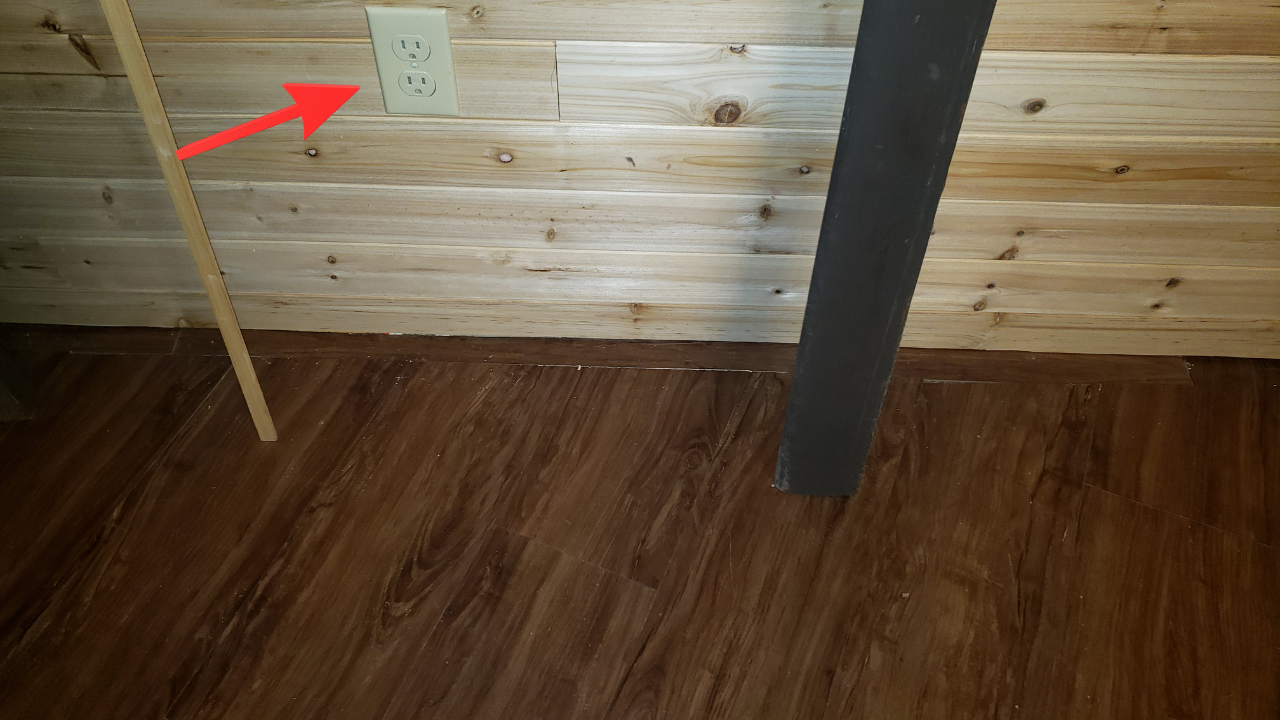
We notched pieces for the top of the window, both sides, and the bottom — and we had to notch around an electrical wall plate, too. The bottom of the window took the most patience, but the payoff is a clean, built-in look that makes the whole wall feel custom.
A bit of reassurance here: our notches weren’t perfect, and they didn’t need to be. The window shade hides the top edge, and a little caulk underneath tidies up any small gaps. Don’t let the fear of imperfect notches keep you from starting.
Step 5: Complete the Wall
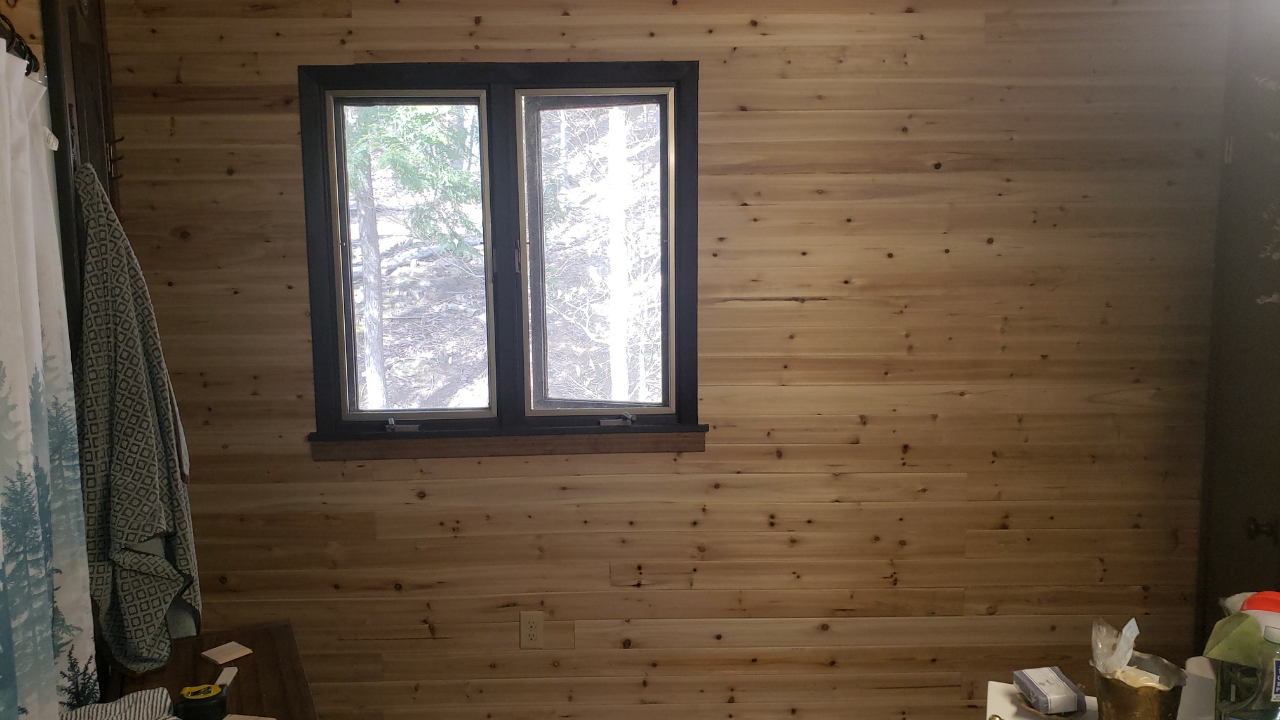
Keep working row by row until the entire wall is covered. Step back periodically — it’s a great motivator to watch the wall transform, and it helps you catch any planks drifting out of level before you get too far
Step 6: Add Trim and Finishing Touches
Trim is what takes the project from “DIY” to “did a pro do this?” Here’s what we added to finish ours off:
- Baseboard molding along the bottom, running the full length of the wall. We painted it black to match the room’s existing trim.
- A small piece of molding under the window — I had an offcut sitting in my shed that did the job perfectly — painted to match the window trim.
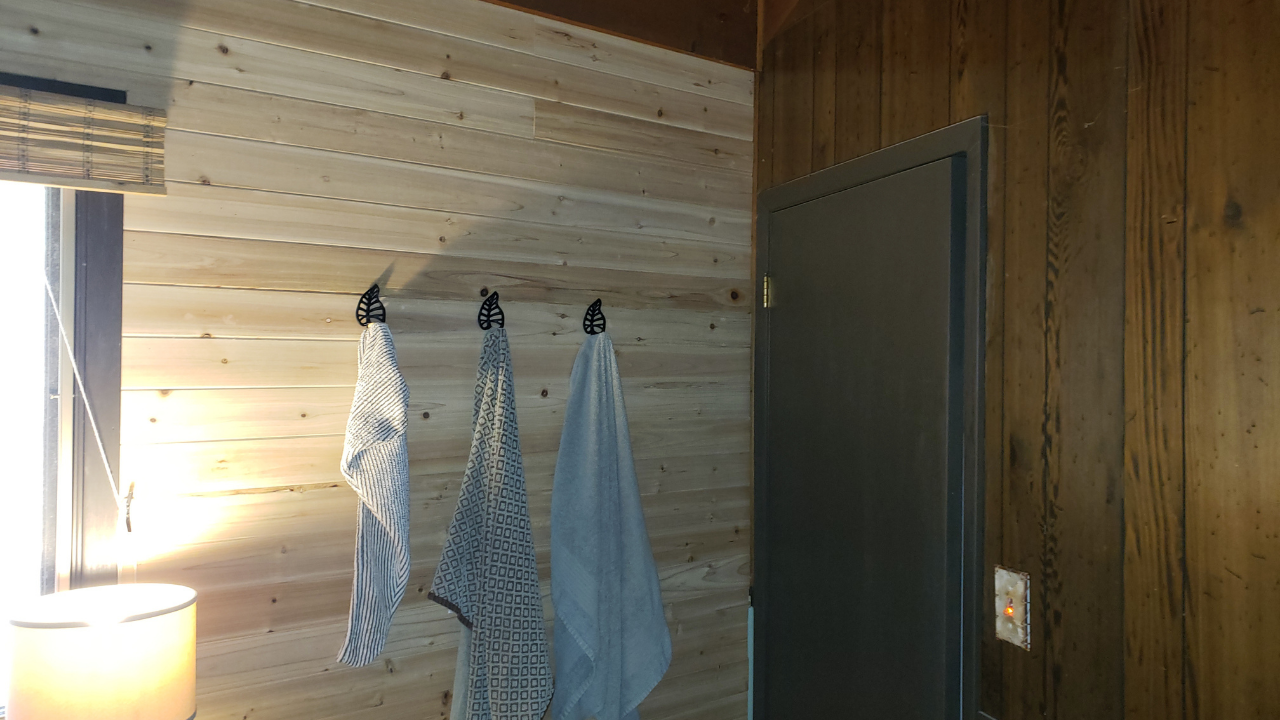
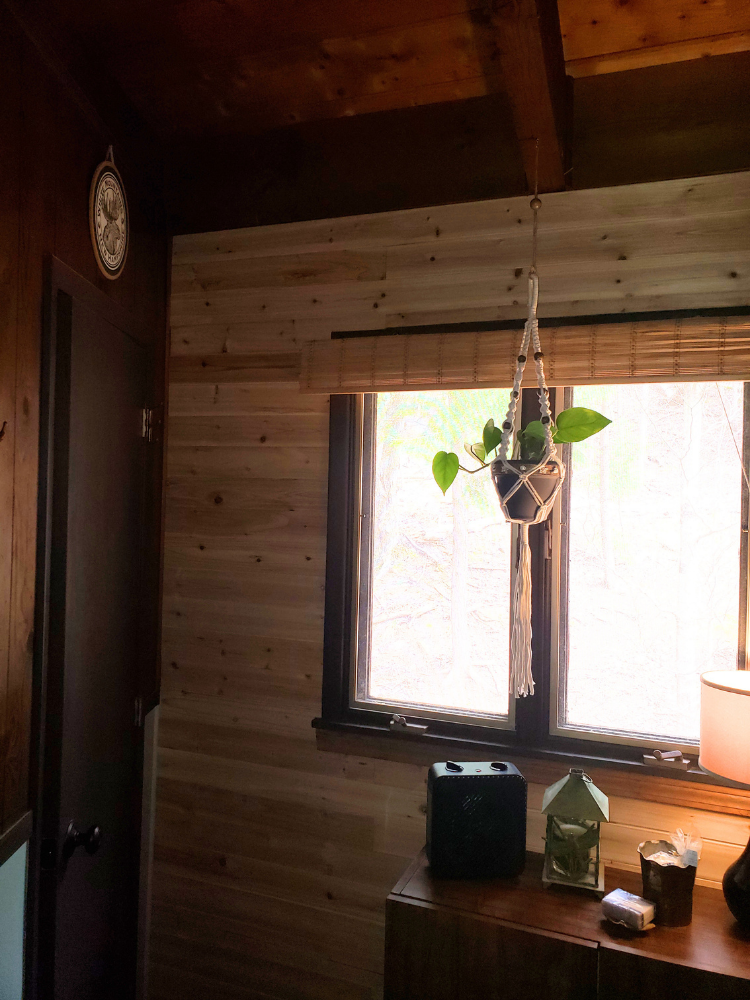
We also ran the planks all the way up to the ceiling beam, mounted three hangers for towels, and hung a trailing plant. As a final touch, my wife painted the surrounding walls black. That contrast is the secret weapon: the dark background makes the light cedar pop and turns the wall into the clear focal point of the room.
Finishing and Sealing (Important for Bathrooms)
This is the question I get asked most about a wood wall in a bathroom, so here’s my honest experience: we left the cedar completely natural — no sealer, no finish at all. Funny enough, partway through the build we were planning to polyurethane the whole wall. But once it was up, we loved the raw look and scent of the cedar too much to cover it.
So we left it exactly as it was. It’s been about a year now, and we haven’t had a single issue: no warping, no moisture damage, no discoloration.
Cedar is what makes that possible. It naturally resists moisture and rot, which is a big part of why it’s such a smart pick for a bathroom in the first place. Decent ventilation helps too and if you have a working exhaust fan that goes a long way toward keeping humidity in check.
That said, whether to seal is a personal call, and you do have options if you’d rather add a layer of protection:
- Leave it natural — what we did; keeps the raw cedar look and scent, and it’s held up beautifully in a ventilated bathroom.
- Clear sealer or matte poly — adds moisture protection while keeping the natural tone.
- Stain or paint — changes the color and adds a protective layer.
Tips for a Clean, Professional Result
- Level obsessively on the first plank. It’s the single biggest factor in how straight your finished wall looks.
- Keep a pencil eraser or damp rag handy for cleaning up layout marks as you go.
- Cut outside or over a drop cloth — cedar makes a lot of sawdust.
- Dry-fit tricky pieces (like notches) before committing with the nailer.
- Buy extra material. Running short mid-project is the most frustrating way to lose a weekend.
Adapting This to Other Rooms
The exact same method works well beyond the bathroom:
- Bedroom: A wood plank wall behind the headboard is one of the coziest focal points you can build.
- Home office: A warm wood backdrop makes video calls look sharp and your desk setup feel intentional — see our office wall design ideas for pairing it with the rest of the room.
- Living room: Great behind a TV or sofa to anchor the space.
Since this build lives in a bathroom, you might also like our bathroom accent wall ideas and broader bathroom wall design ideas for more ways to style the space around your new wall.
How Much Does a DIY Accent Wall Cost?
This project cost us about $232 in materials and took a single day — we started at 8 a.m. and finished around 3:30 p.m., with a half-hour break for lunch (about 7 hours of hands-on work). Here’s the breakdown from our receipt:
- Knotty cedar planks — $215.84 (8 packs at $26.98)
- Trim moulding — $15.92
That’s it. Because you’re only covering one wall instead of the whole room, both the cost and the time stay low while the visual impact is huge. For a little over $200 and a single day of work, we completely transformed the feel of our bathroom.
Frequently Asked Questions
Can beginners build a DIY accent wall?
Yes. If you can measure, use a level, and operate a brad nailer, you can build a wood plank accent wall. The trickiest part is notching around obstacles like windows, and even that just takes patience and careful measuring.
Can you put a wood accent wall in a bathroom?
Absolutely. Cedar is naturally moisture- and rot-resistant, which makes it a great choice for bathrooms. I left mine completely unsealed, and it’s held up beautifully for about a year with no moisture issues at all. Just let the wood acclimate to the room before installing, and make sure the bathroom is reasonably ventilated.
Do you have to nail into studs?
I nailed into the studs, and I’d recommend it. Brad nails hold tongue-and-groove cedar securely when they’re anchored into studs, so locate yours with a stud finder before you start. Nailing into studs also means you don’t need any construction adhesive.
How long does a DIY accent wall take?
Ours took a single day — about 7 hours of hands-on work (8 a.m. to 3:30 p.m., with a break for lunch). For a single wall, most DIYers can knock it out in a day or over a weekend, with the bulk of the time spent measuring, cutting, and notching around obstacles like windows.
What wood should I use?
We used Home Depot’s 1/4-inch knotty cedar edge V-plank for its grain, tone, and natural moisture resistance. Other popular options include pine, shiplap boards, and reclaimed wood — our wood accent wall ideas shows several in action.
Final Thoughts
A DIY accent wall is one of those rare projects that looks far more difficult than it actually is. With a level, a nailer, a saw, and a single day of work, you can completely transform a room — and every time you walk past it, you’ll get that little jolt of “I made that.”
If this inspired you to tackle your own, start by picking your look from our accent wall designs grab your cedar, and get building. You’ve got this.

Bob writes about office decor and tips and home decor room by room, from accent walls and kitchens to bathrooms and living rooms. He and his wife are constantly renovating their own home in a rustic setting, and a lot of his articles start with a project they’ve actually done—like the cedar accent wall in their bathroom or the black kitchen cabinets. Every photo is a real room, never an AI-generated fake.
He’s been blogging for over 20 years. He started as an office and cubicle writer, launching CubicleBliss in January 2011 and rebranding it as WorkspaceBliss in April 2020 before growing it into the whole home. That office background runs deep: 35+ years as an IT Manager, Applications Engineer, Systems Analyst, and Programmer Analyst, a Certified Microsoft Professional with a Master’s and two Bachelor’s degrees. He’s been featured in US News and World Report, Bustle, and Work Awesome (his articles here).